Having trouble getting the Nyingarn Workspace to produce a table for your transcription? Try this ….
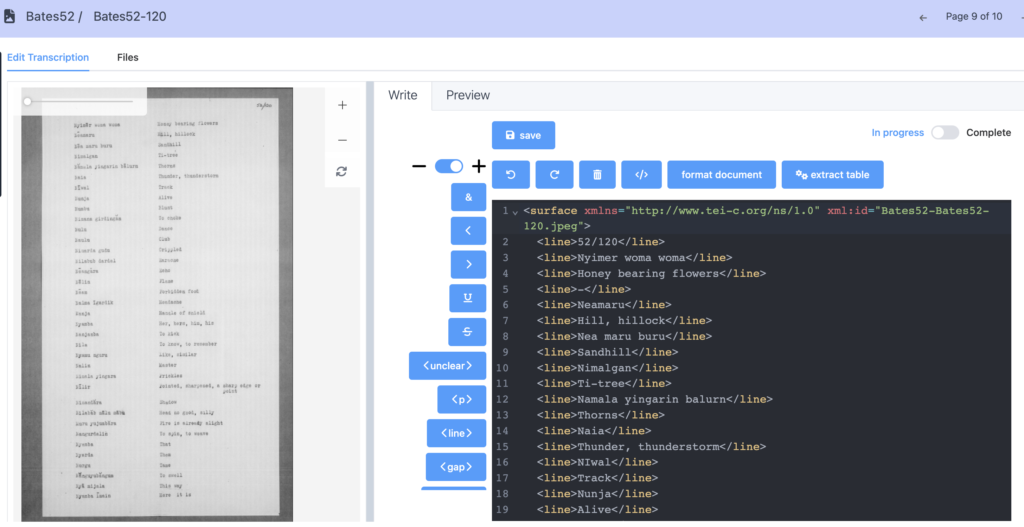
Here is an example of an automated Optical Character Recognition (OCR) transcription that has not recognised the information in table format.
First, try the extract table blue button. This text isn’t technically a table so it may not work.
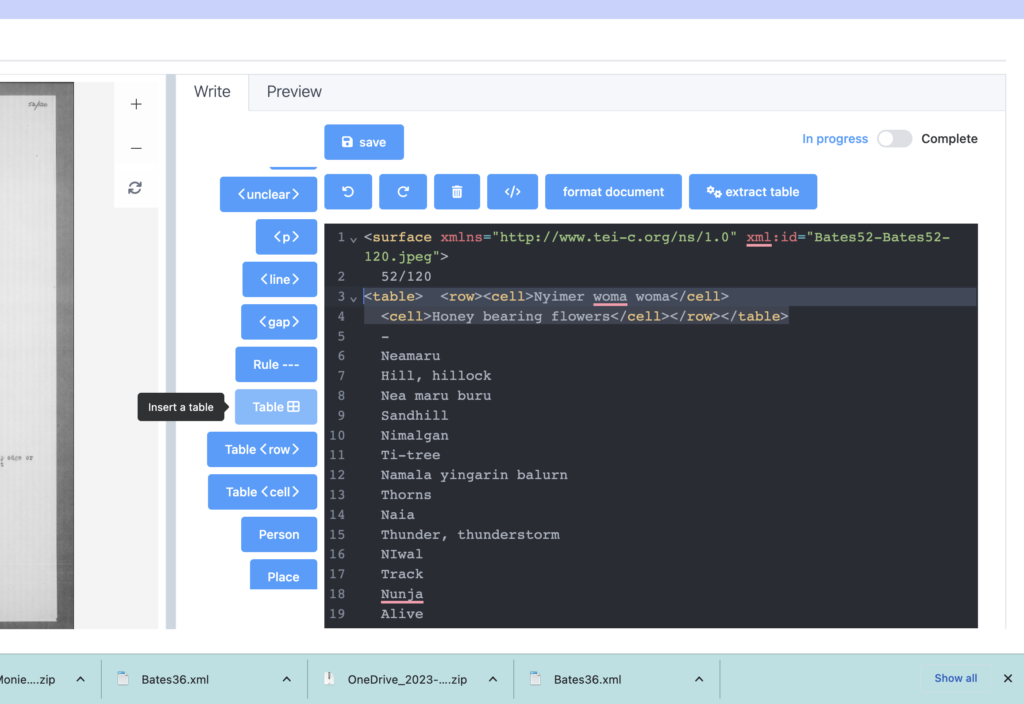
Next, manually construct a table using the blue markup buttons <table> <row> <cell>. The buttons sit in the centre of your screen between the manuscript and transcription windows.
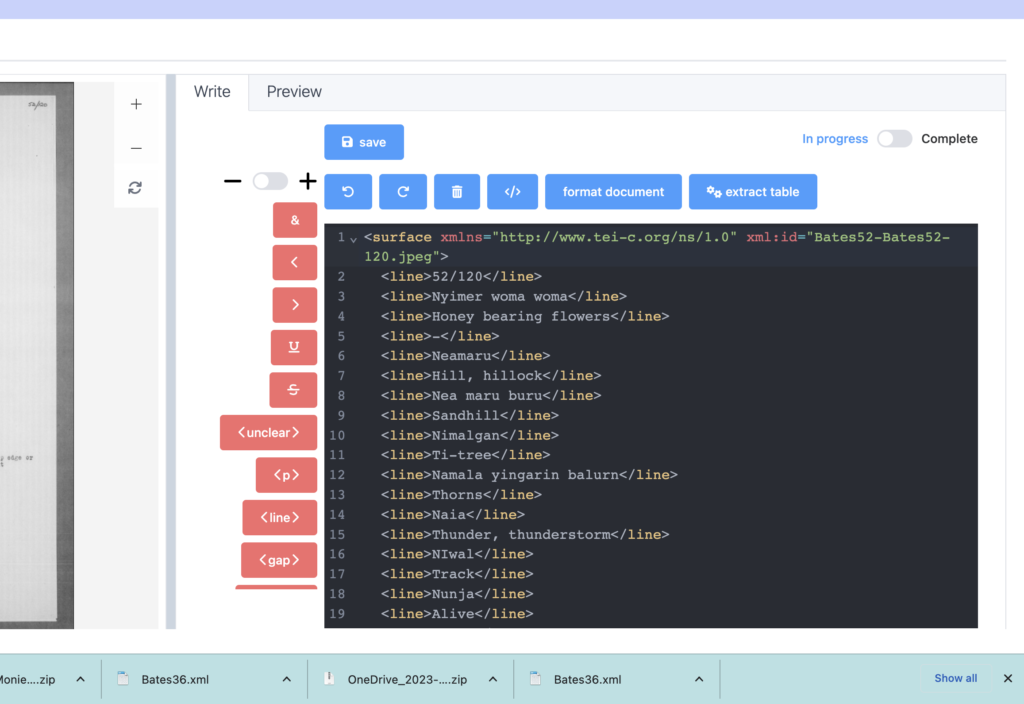
It is useful to remove the <line> elements before constructing your table. The - and + slide button allows you to remove or add different markups to your transcription. Pictured to the right, the slide button is minus (-) so the buttons are red. Now you can highlight the text and click <line> to remove all the line elements.
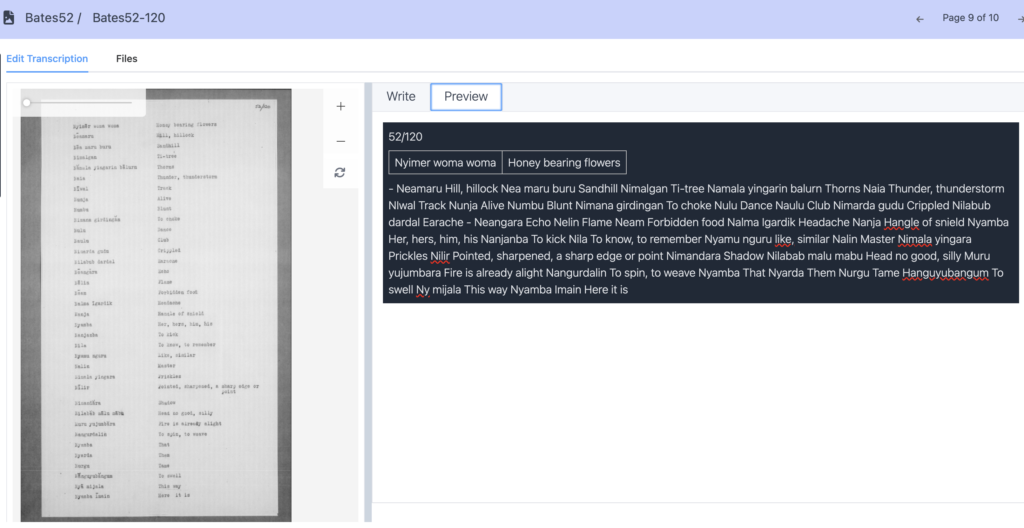
This manuscript is a word list with two columns. Markup would look like this: <table> <row> <cell>column1</cell> <cell>column2</cell></row> </table>. See Workspace example below. The preview tab lets you check the table presentation is correct.
In the video below, Tom explains another way to create tables in Nyingarn.